Client Settings
The Client Settings page defines the core configuration for a client (tenant) in the RCOM Gateway. These settings establish the client’s identity, security posture, communication channels, and global data that apply system-wide across workflows, users, notifications, and integrations.
This page is typically configured during initial client onboarding and should only be modified by administrators, as changes affect the entire tenant. Navigation: Settings > Client Settings > Client Details > Edit
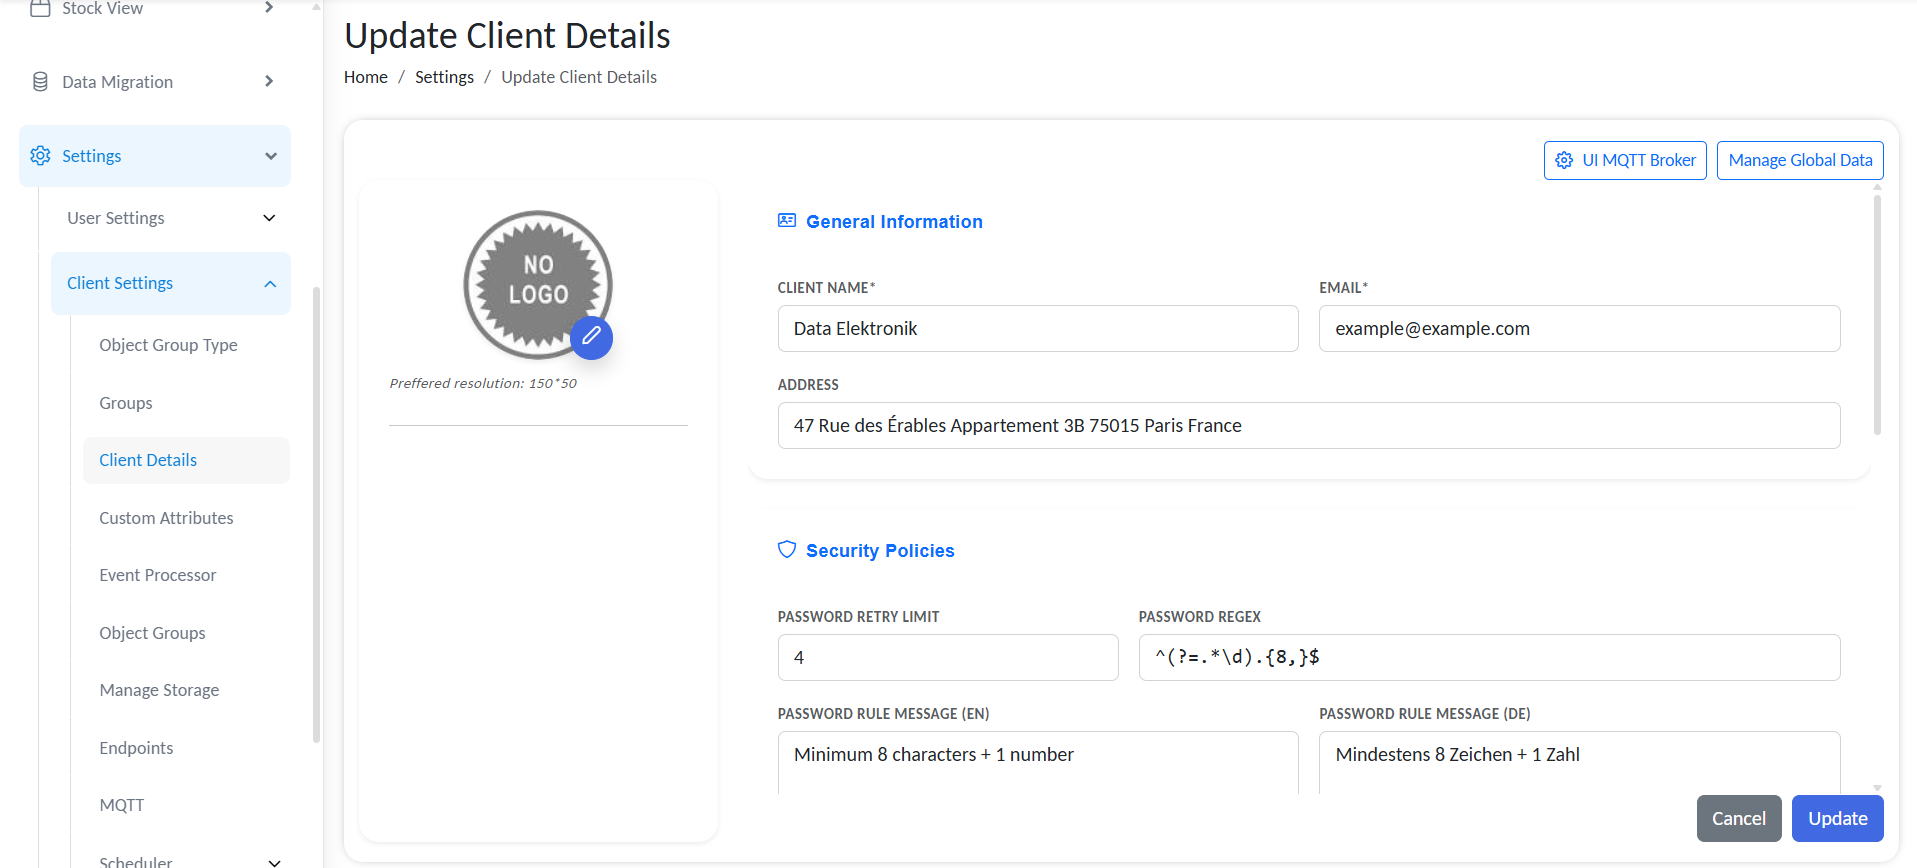
General Information
Defines the basic identity and contact details of the client.
Client Settings
Client Logo
- Upload a logo used across the RCOM Gateway UI.
- Recommended resolution: 150 × 50 pixels
- Displayed in dashboards, headers, and client-specific views.
Client Name
- Logical name of the client/tenant.
- Used internally and in UI references.
Email
- Primary contact email for the client.
- Used for notifications, alerts, and system communications.
Address
- Full business address of the client.
- Informational field; not used for automation logic.
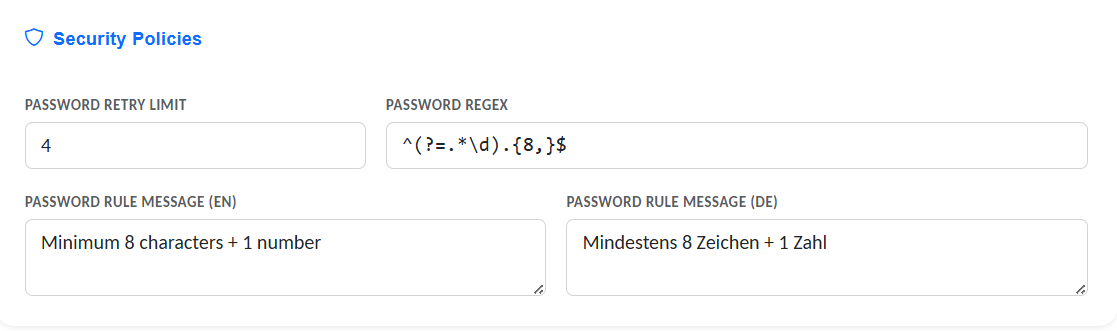
Security Policies
This section defines password and authentication enforcement rules for all users belonging to the client.
Security Policies configuration.
Password Retry Limit
- Maximum number of failed login attempts allowed.
- Once exceeded, access is temporarily restricted.
- Protects against brute-force login attempts.
Password Regex
- A regular expression that defines password complexity rules.
text
^(?=.*[A-Z])(?=.*[0-9]).{8,}$
((At least one uppercase letter, one number, minimum length of 8 characters.))
- Enforced during password creation and change.
Password Rule Message (EN / DE)
- User-facing explanation of the password policy.
- Displayed on login and password reset screens.
- Separate fields for English and German to support multilingual UI.
Info block
Best practice: Keep the regex strict, but ensure the message clearly explains the requirements in plain language.
Home page Interface
The Home page Interface section allows you to customize the default home screen displayed in the RCOM Gateway. Instead of the standard interface, you can now select any active custom UI in your system to serve as the home page.
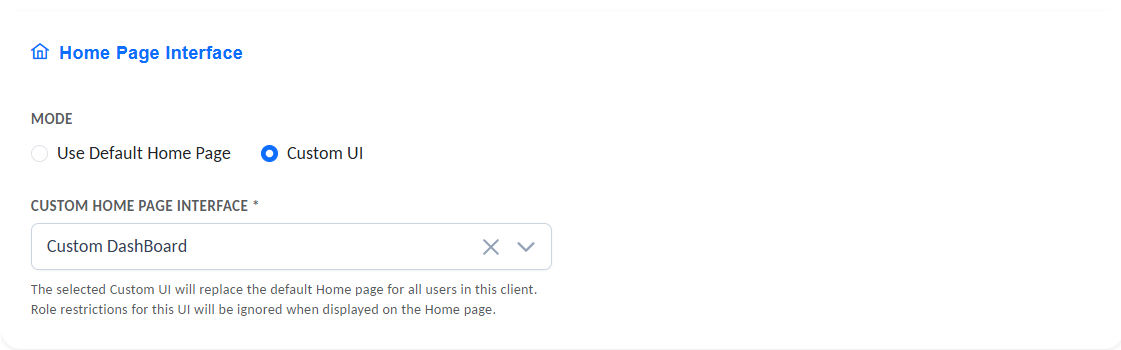
Custom Home page Interface configuration.
Configuration
- Select Custom UI: Choose from any active custom UI available in the system to display as the home page.
- Universal Display: The selected UI will be displayed to all users on the home page, regardless of their roles or group assignments.
Important: The role and group permissions configured in the custom UI are not applicable to the home page interface. All users will see the selected UI on login.
Applying Role-Based Restrictions
If you need role-based or group-based access control on the home page interface, use custom permissions on the individual UI elements within your custom UI. This allows you to hide or show specific components based on user roles and groups.
Best practice: Use custom permissions at the element level rather than relying on UI-level role restrictions for fine-grained access control.
Email Server Configuration
This section configures the SMTP server used by RCOM Gateway to send outgoing emails.
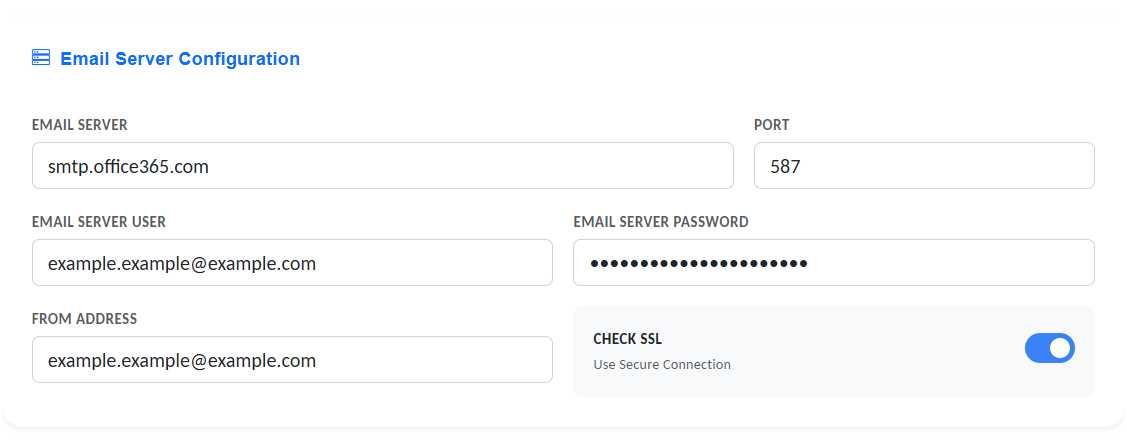
Email Server Configuration settings.
Emails are used for:
- Workflow Action
- Alerts and notifications
- Password resets
- System messages
Configuration
- Email Server: SMTP host address
Example:smtp.office365.com - Port: SMTP port number
- Email Server User: SMTP username (usually a service account email).
- Email Server Password: Password for the SMTP server user.
- From Address: Sender address shown in outgoing emails. (Provide a valid mail address)
- Check SSL: Enables secure (
TLS/SSL) communication with the email server. Strongly recommended for production environments.
After entering all required information, save the configuration to apply the changes.
Adding Global Variables
Global Variables are system-wide variables that are available across the entire RCOM Gateway.
They can be accessed from:
- All workflows
- Event processors
- Custom UI
- Integrations and scripts
When to Use Global Variables
- Store constants shared across workflows (e.g., base URLs, thresholds)
- Maintain values that must remain consistent across multiple workflows
- Share mutable values accessed or updated by multiple workflows
Info block
If multiple workflows need to read or update the same value, global variables are the correct solution.
Configure Global Variables
From the Client Edit page:
- Click
Manage Global Data
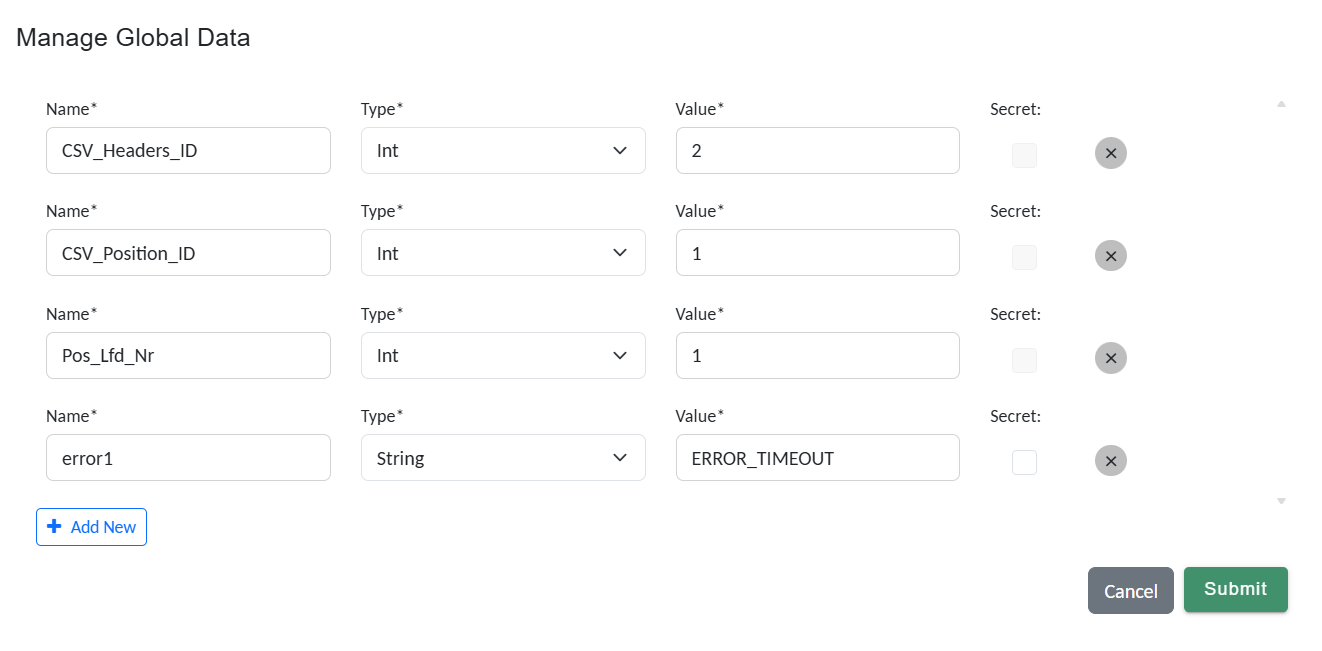
Manage Global Variables
- Click
Add New - Enter a
Name(used system-wide to reference the variable) - Select a
Variable Type:StringIntDecimalBoolDateDateTimeOffsetGuidByte
- Provide an initial
Valuematching the selected type - Enable
Secretto hide the value (only available forStringtypes) - Click
Submitto save
UI MQTT Broker Configuration
The UI MQTT Broker configuration defines the MQTT broker used by the RCOM Gateway UI to receive live updates, primarily for monitoring RCOM Agents in real time.
Without this configuration, agent dashboards require manual refresh to display updated status.
Purpose
- Enables real-time status updates on the
RCOM Agents Dashboard - Displays live connectivity, health, and runtime information
Configuration Fields
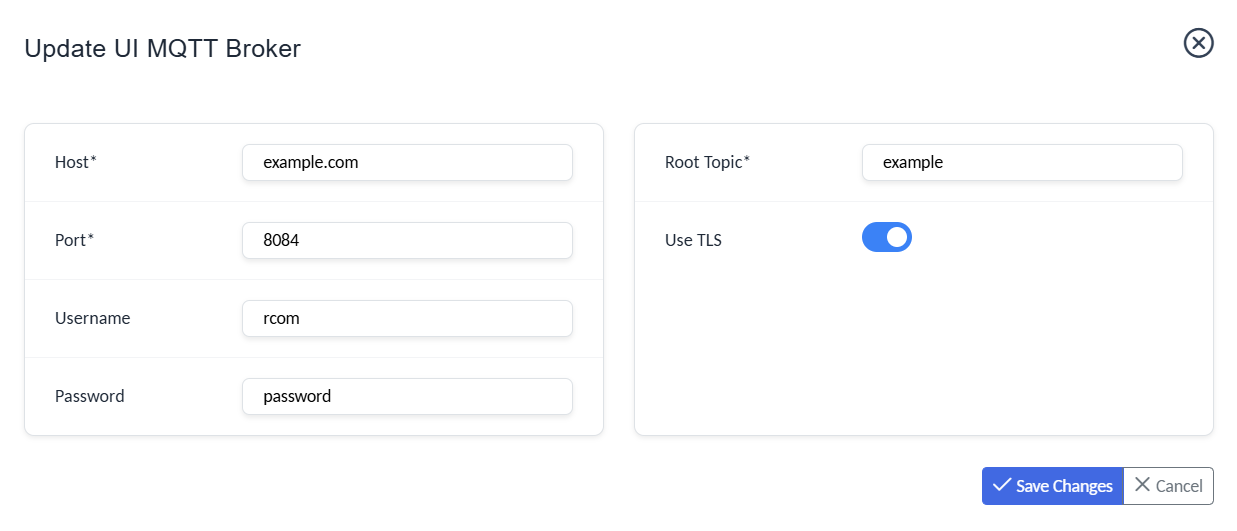
MQTT Broker Configuration
- Host: MQTT broker hostname or IP address
- Port: Broker port number (e.g. 1883 for non-TLS, 8883 for TLS)
- Username: Broker authentication username
- Password: Broker authentication password
- Root Topic: Base topic under which agent status messages are published
- Use TLS: Enable secure
MQTTcommunication overTLS
Save Configuration
After entering the broker details:
- Verify the values are correct
- Click
Save
Once configured, the UI will automatically subscribe to the defined root topic and display live agent updates without requiring page reloads.