Manage Storage Locations in RCOM Gateway
In RCOM Gateway, storage location management allows you to define and assign hierarchical storage details for physical entities associated with digital objects. This is especially useful in environments like warehouses, hospitals, or factories where tracking the physical position of an item is essential for automation and logistics.
Objects can be optionally linked to a storage location when created or updated via workflows using the SetStorageLocation action block.
Storage Hierarchy Overview
Storage locations are organized in a strict four-level hierarchy:
Storage Number → Storage Location → Storage Area → Storage Bin
Each level supports multiple child entries:
- One Storage Number can contain multiple Storage Locations
- One Storage Location can have multiple Storage Areas
- One Storage Area can have multiple Storage Bins
Where to Begin
To begin managing storage locations:
Go to Settings > Client Settings > Manage Storage from the RCOM Gateway dashboard.
You will see a list of configured Storage Numbers. From here, you can manage the full hierarchy.
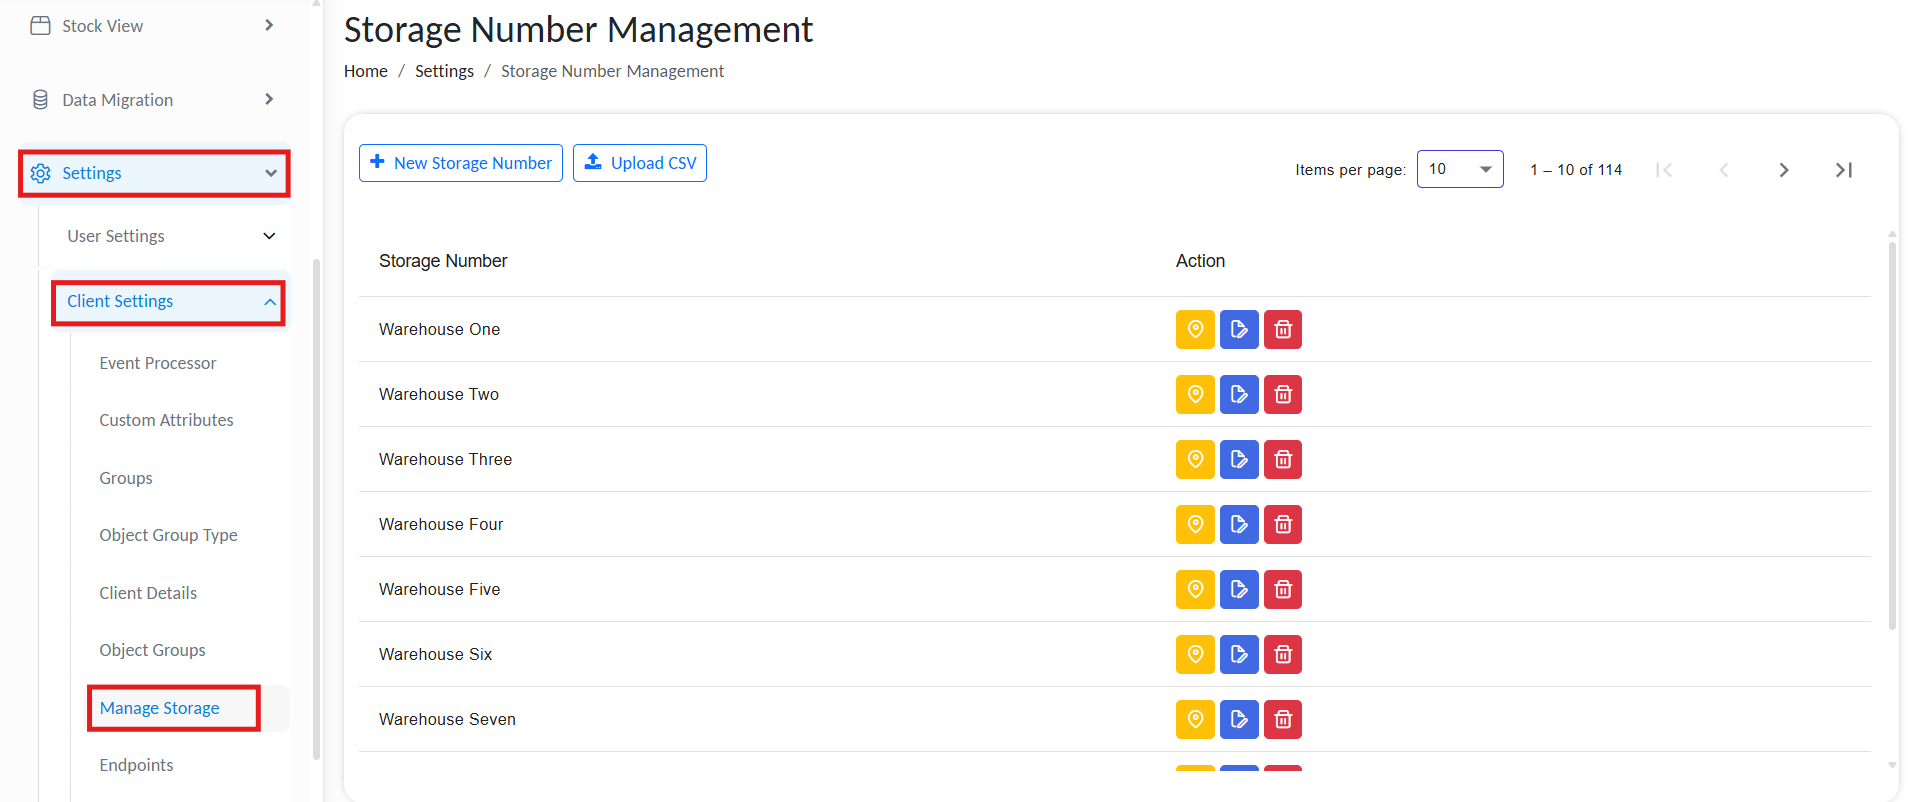
List of available storage locations
Creating the Storage Hierarchy
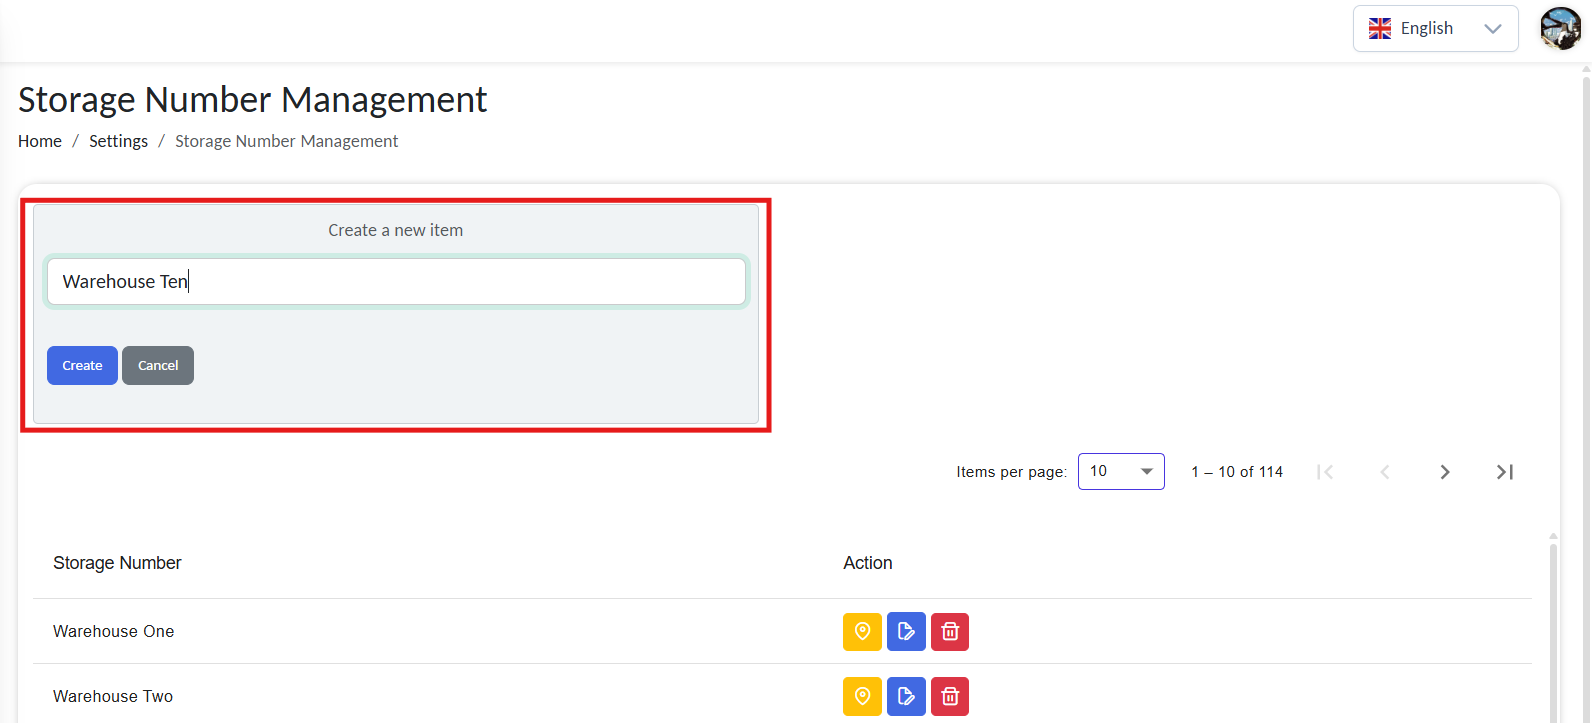
Create a Storage Number
This is the top-level identifier for a storage structure (e.g., a warehouse or zone).
- Click New Storage Number
- Enter a name
- Click Save
List of available storage locations
The Storage Number will now appear in the list.
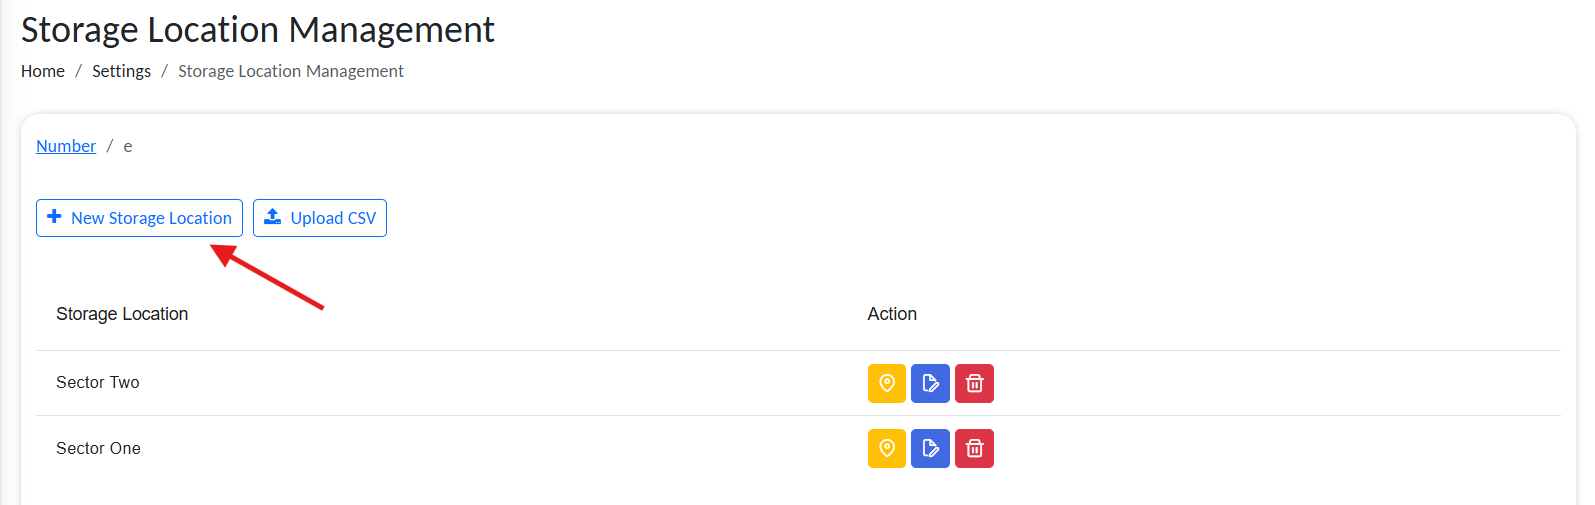
Create a Storage Location
To define locations under a specific storage number:
- Click Manage Location next to the desired Storage Number

Access available locations
- Click New Storage Location
- Provide a name and click Save
Add new location
You can create multiple locations under one Storage Number.
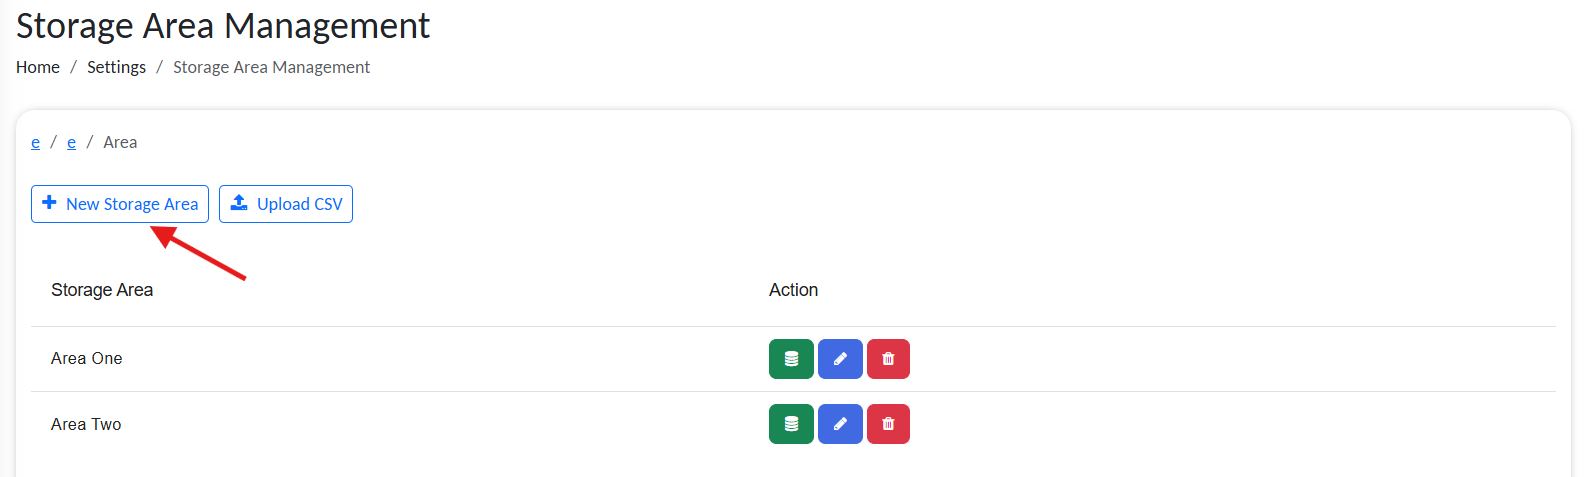
Create a Storage Area
To add areas under a location:
- Click Manage Area inline to the Storage Location

Access available storage areas
- Click New Storage Area
- Enter a name and click Save
Add new storage area
Areas typically represent aisles, shelves, or functional zones.
Create a Storage Bin
To define bins under an area:
- Click Manage Bin next to the Storage Area

Access available bins
- Click New Storage Bin
- Provide a bin name and save
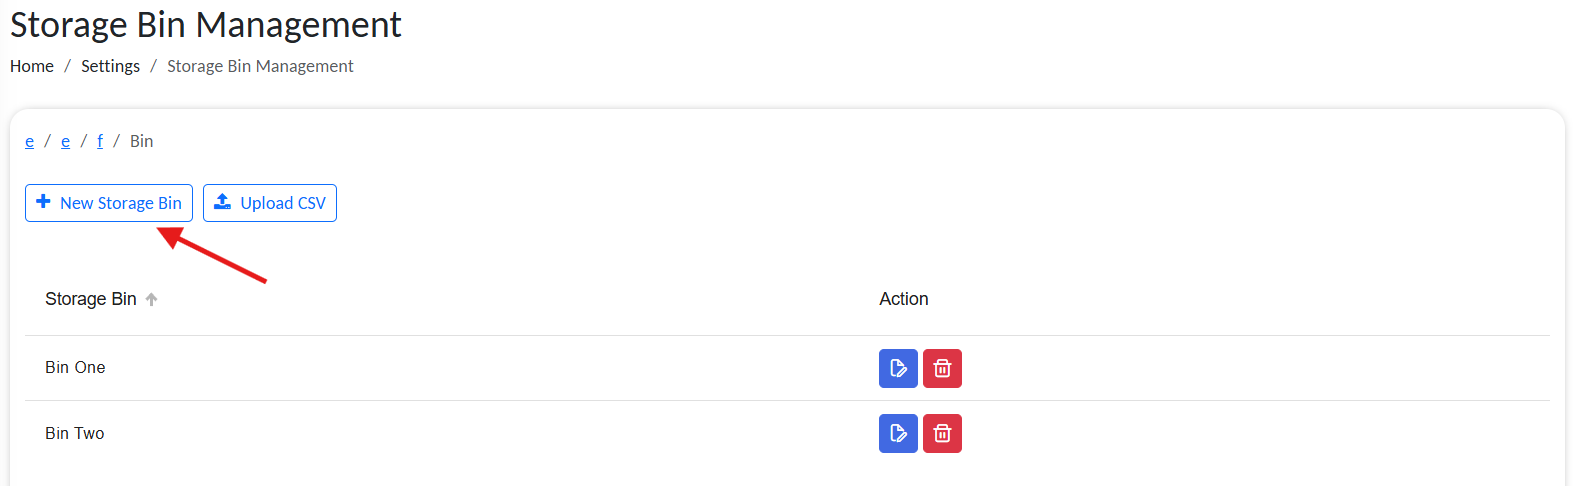
Add new bin
Bins are the most granular units, representing actual compartments or containers.
Assigning Storage in Workflows
In any workflow, you can use the SetStorageLocation action block to assign or update an object’s storage location:
- Provide the
OBJECT_IDof the item - Set any combination of
STORAGE_NUMBER,STORAGE_LOCATION,STORAGE_AREA, orSTORAGE_BIN
If any level is omitted, the platform will try to resolve it automatically using contextual mappings.
Example Scenario
Warehouse Product Placement
- Storage Number: Warehouse-A
- Storage Location: Section 1
- Storage Area: Aisle 3
- Storage Bin: Bin 17
When a product object is scanned, a workflow can use this structure to track where the item was stored.
✅ Best Practices
- Use consistent naming conventions across all hierarchy levels.
- Only define bins when absolutely necessary to avoid overcomplicating the hierarchy.
- Use the
GetObjectOfStorageaction block to retrieve objects based on storage filters.