Data Migration in RCOM Gateway with XML
Data migration in RCOM Gateway enables administrators to seamlessly transfer, replicate, or restore configurations and object data across multiple gateway instances. This is essential for maintaining consistency between environments, performing backups, or onboarding new deployments without starting from scratch.
With migration features, you can export and import critical components such as workflows, object groups, custom UIs, maps, endpoints, roles, and more.
Exporting Data
Exporting is the first step in migration. It compiles selected components into an XML file, which can later be imported into another instance. This allows for quick replication, disaster recovery, or backup.
Where to begin
To export data, follow these steps from the RCOM Gateway Dashboard:
Navigate to Data Migration > Import/Export.
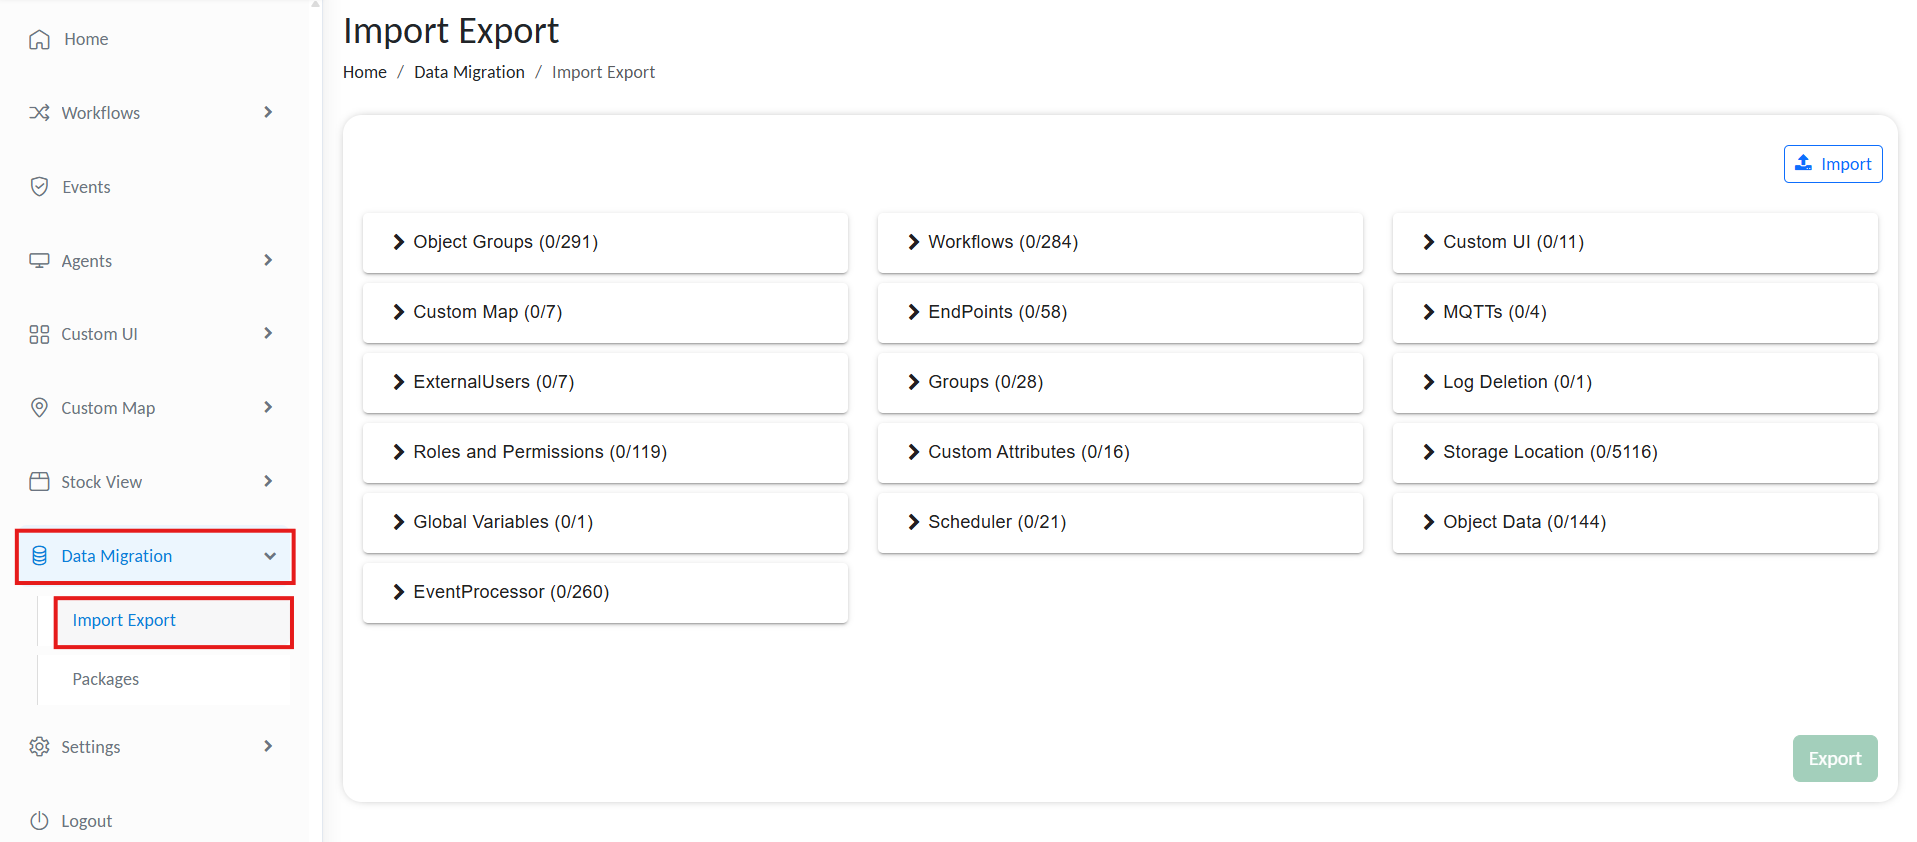
Export Gateway data
This page lists all the Gateway functionalities and data structures that can be exported.
Export Configuration
Once on the Export page, you can follow several configurable options:
Select Items to Export
You can choose exactly which components to export. Available selections include:
- Workflows
- Object Groups
- Custom UIs
- Custom Maps
- Endpoints
- MQTT Configurations
- External Users
- Groups
- Log Deletion
- Roles and Permissions
- Custom Attributes
- Storage Locations
- Global Variables
- Scheduler
- Object Data
- Event Processors
Click on each box and then select Select all to export all data from that block.
Select and export data from Gateway
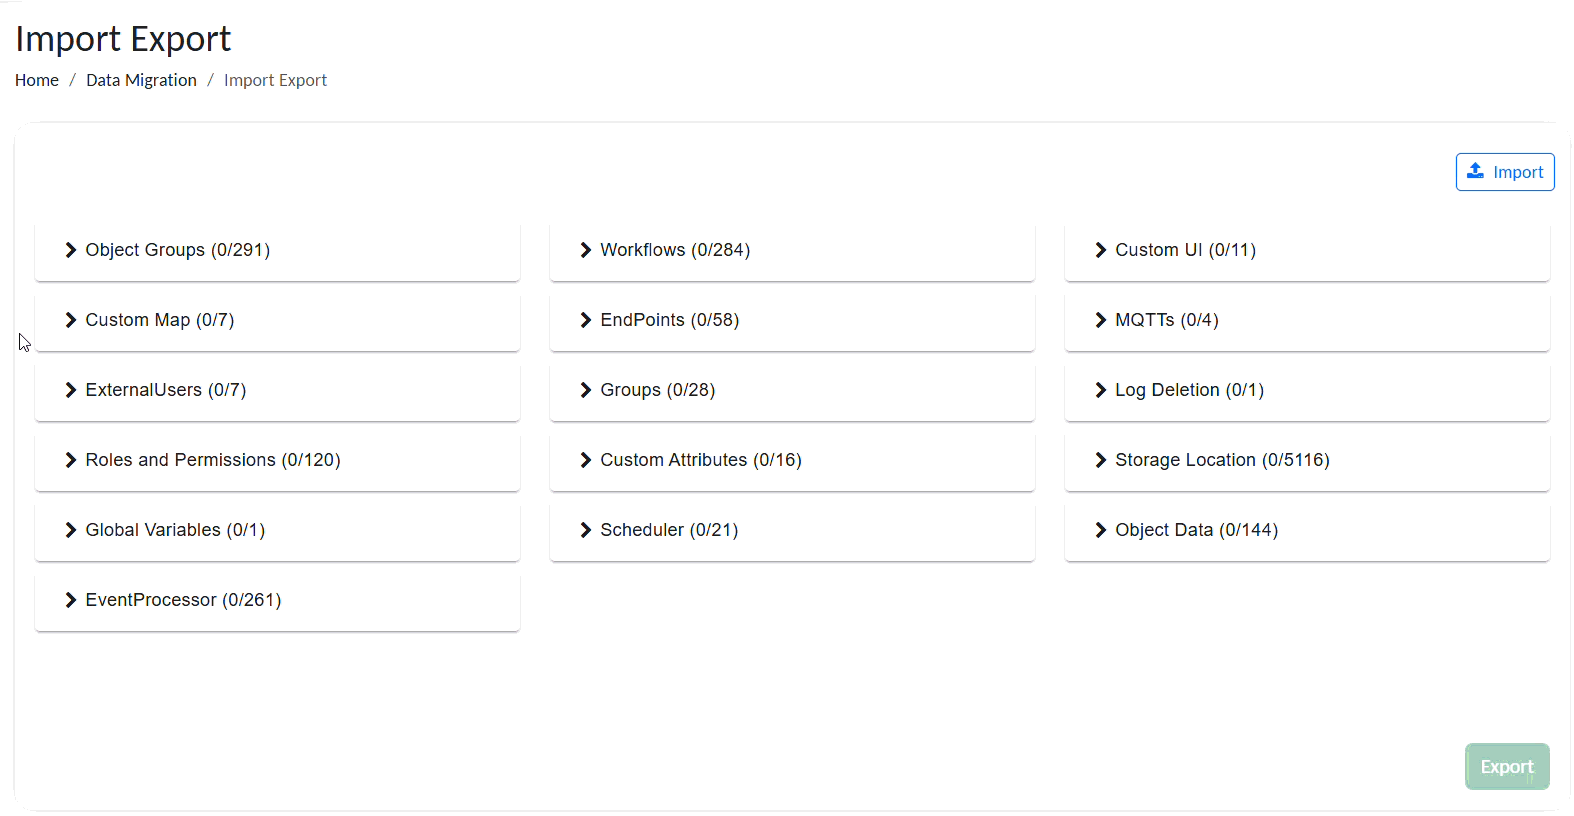
Export Specific Data
RCOM Gateway provides precise control over the scope of data exports, enabling you to selectively export specific workflows, workflow versions, object groups, UIs, maps, and more.
To export only select data entries, expand the corresponding box, and select only the entries that you want to export.
Export only selected data
Exporting the Data
After making your selections:
- Click on the Export button located at the bottom of the page.
- The gateway will compile your selections into an XML file.
- The XML file can then be saved locally to your device, ready for importing into another instance of RCOM Gateway.
Importing Data
Importing applies previously exported XML files into the current gateway instance. This is useful for restoring from backups, migrating to a new environment, or replicating setups across clients.
Where to Begin
To import data, follow these steps from the RCOM Gateway Dashboard:
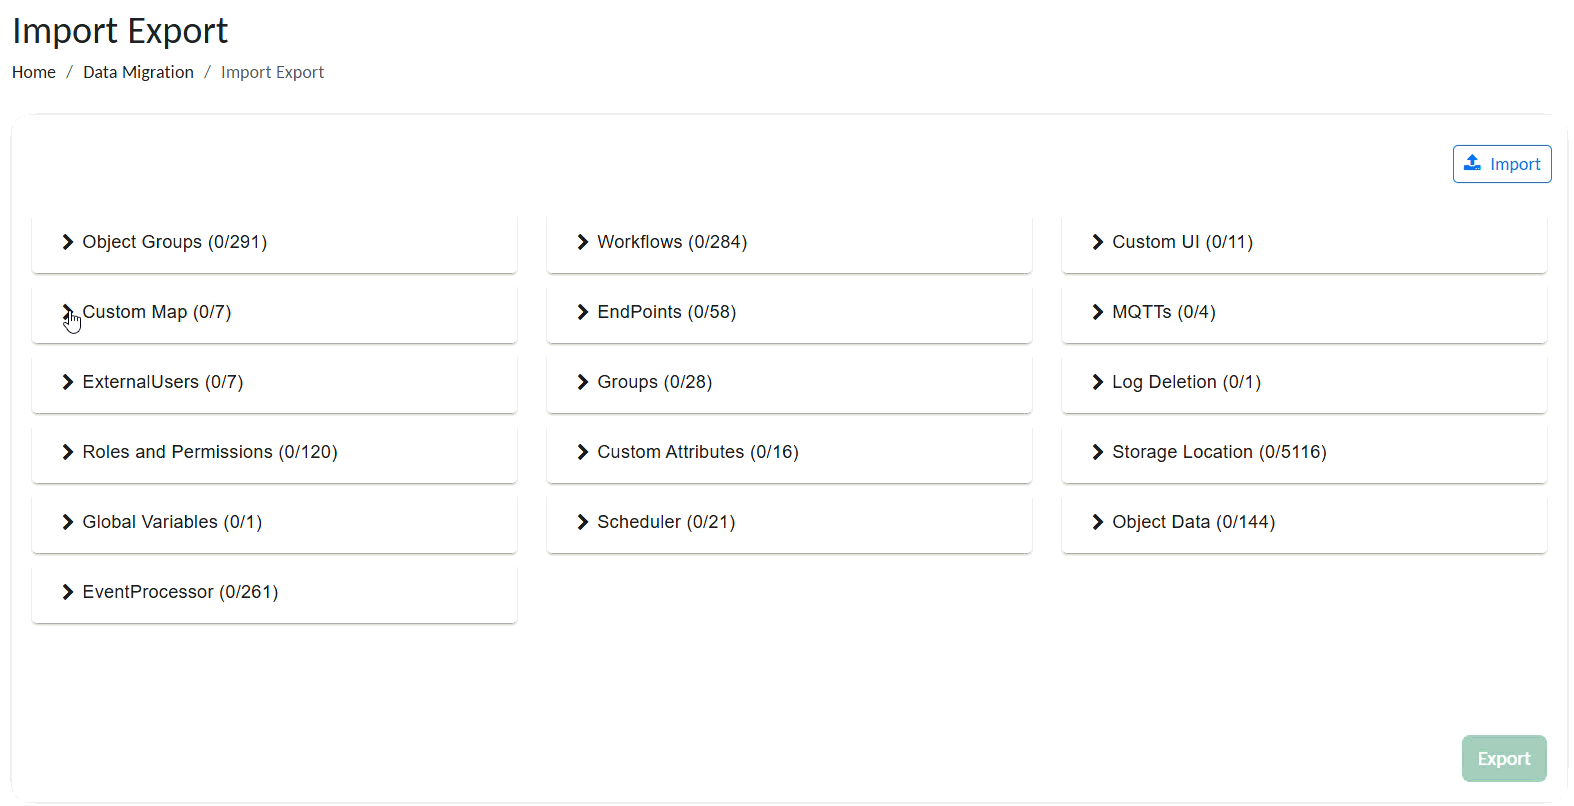
Navigate to Data Migration > Import/Export.
Import data into Gateway
Importing the XML File
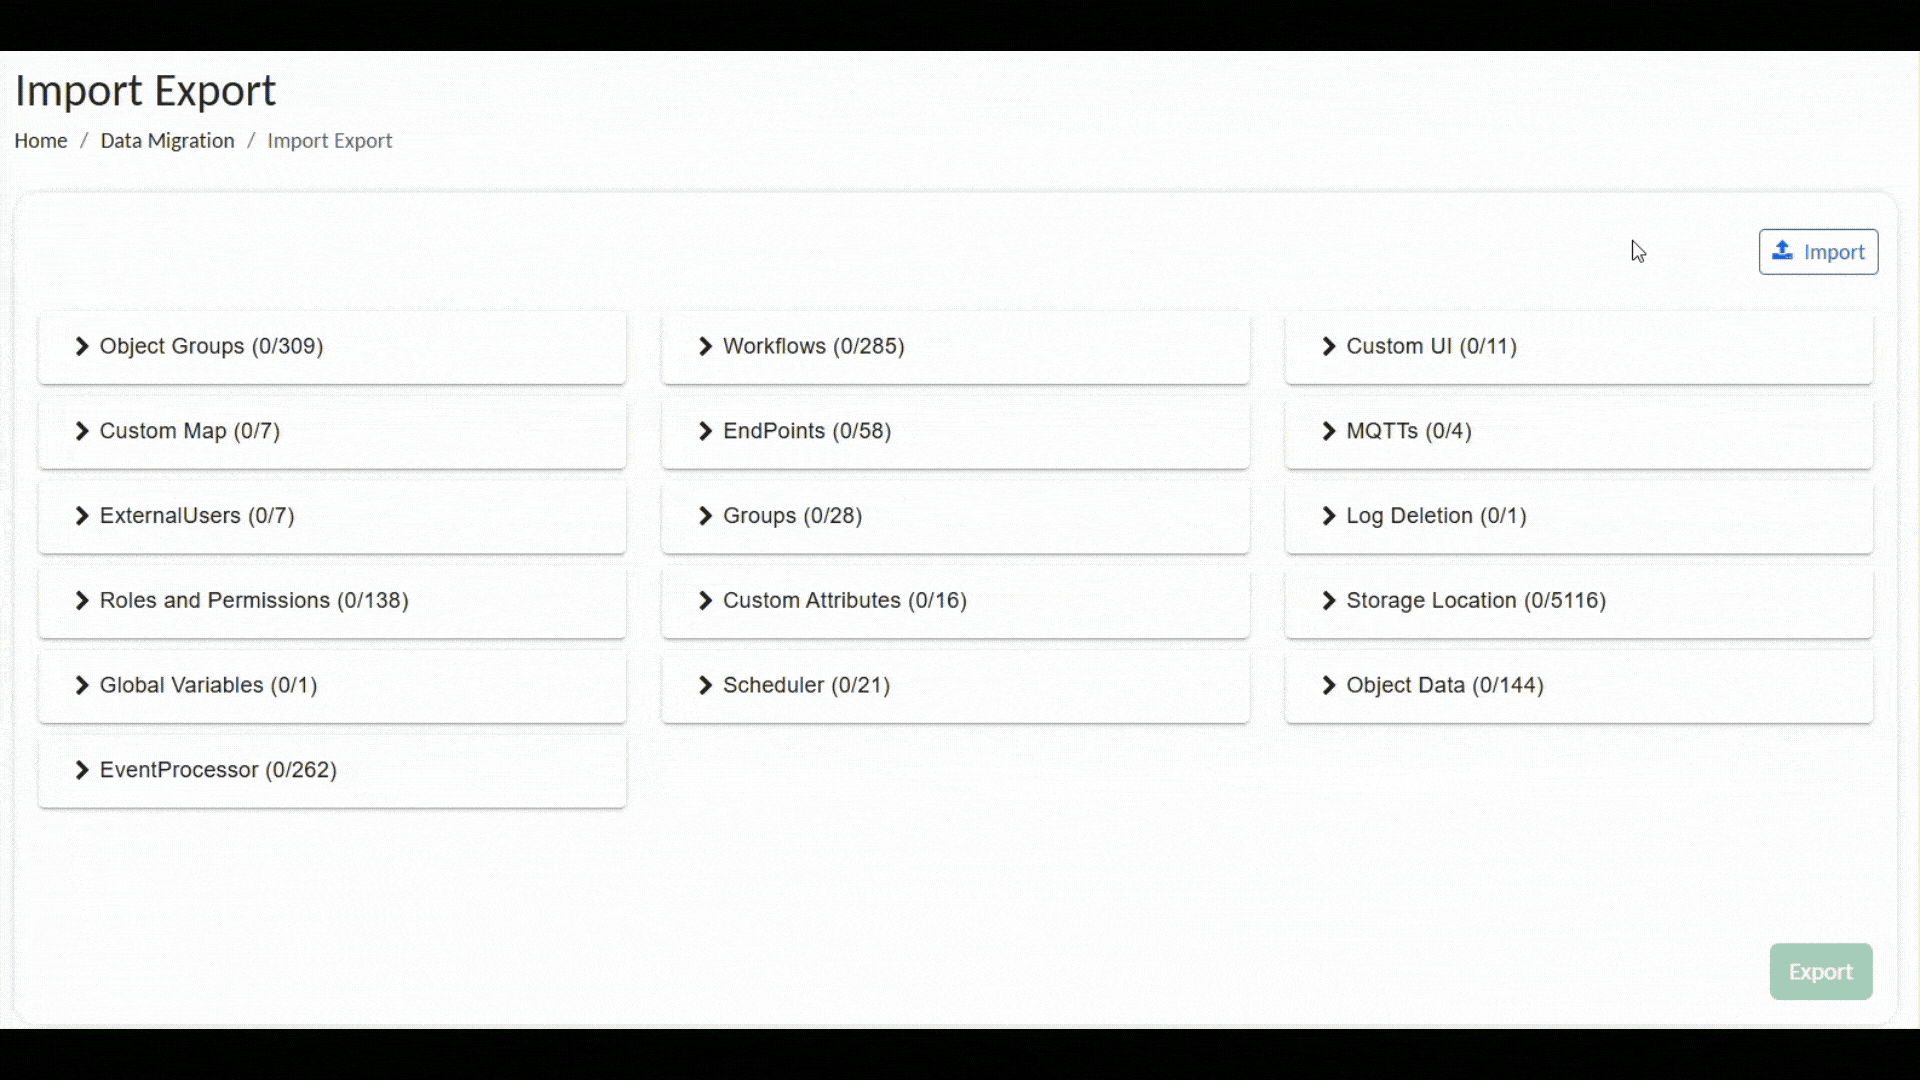
Once on the Import/Export page:
- Click on the Import button at the top right of the screen.
- Select the
.xmlfile you want to import. This should be a file previously exported from another RCOM Gateway instance. - Click Upload to begin the process.
Import data into Gateway
The system will start processing the contents of the file and apply all configurations included. This could take a few moments, depending on the size and scope of the data.
Post-Import Steps
After the import is complete:
- Check the Import Log for any errors or warnings. These will highlight if specific components could not be imported (e.g., due to conflicts or missing dependencies).
- Verify all configurations in the UI. You may want to review:
- Workflows
- Object Groups
- Custom UIs and Maps
- Endpoints and MQTT configurations
- Roles, Permissions, and External Users
- Storage Locations, Global Variables, and Schedulers
Best Practices
- Ensure you export the minimum necessary data for efficiency.
- Regularly export critical workflows and configurations as backups.
- Keep track of XML files with clear naming conventions to easily identify their contents and export date.
- Only import files generated using the official RCOM Gateway Export feature.
- Before importing into a production instance, test the import in a staging environment.
- Keep track of file names and timestamps to ensure you're applying the most recent configurations.